
So what is the actual “quilting” part of quilting all about? When you are making a quilt there are two main jobs to do…
First is piecing the top of the quilt. This can get as fancy as you want, or as simple as a “whole cloth quilt” where there is actually no piecing at all and your quilt top is just one whole piece of fabric.
Second is QUILTING the fabric together. This is where you sew to get the back layer of fabric, the batting, and the quilt top to stay together. Again… this can be as simple or as complicated as you want. I tend to stick to simple lines on my home machine, but you can get real fancy. Just google “long arm quilting” and you will see what I mean.
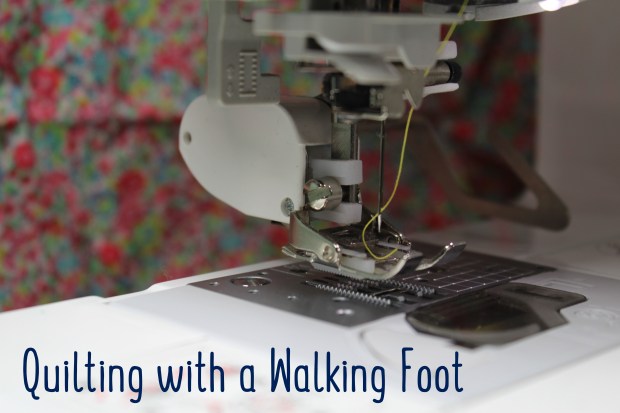
For your first quilt, I recommend doing simple lines and using what is called a walking foot.
Many machines come with a walking foot, but they can be very inexpensively purchased from amazon. The walking foot does something special… it adds an extra set of feed dogs to the process. Feed dogs are the little moving teeth under your sewing machine foot that move the fabric steadily forward through the machine.
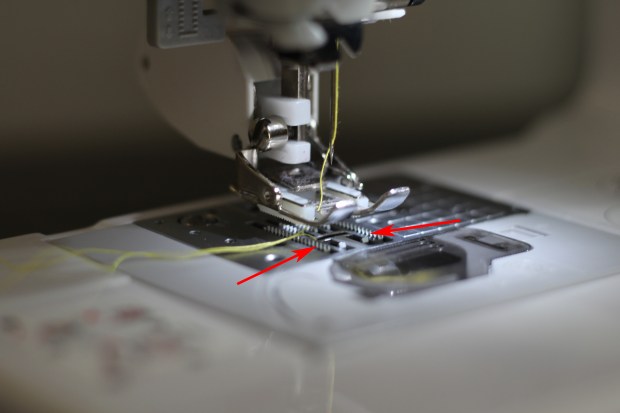
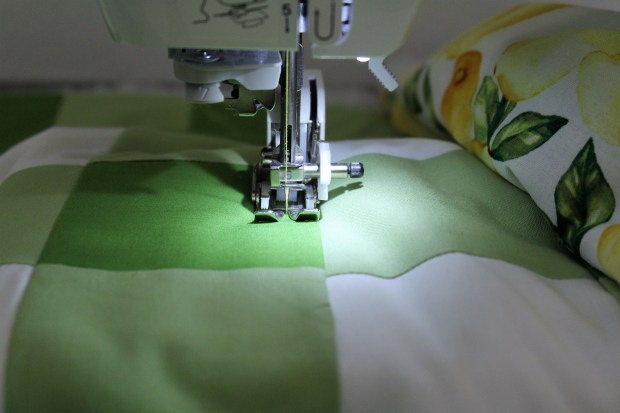
With a walking foot, there is another set of feed dogs on the actual foot, making sure that your fabric feeds perfectly from the top and bottom. See the little white plastic teeth below the walking foot??? One of the main reasons for this in quilting is to reduce bunching and puckers on your quilt.
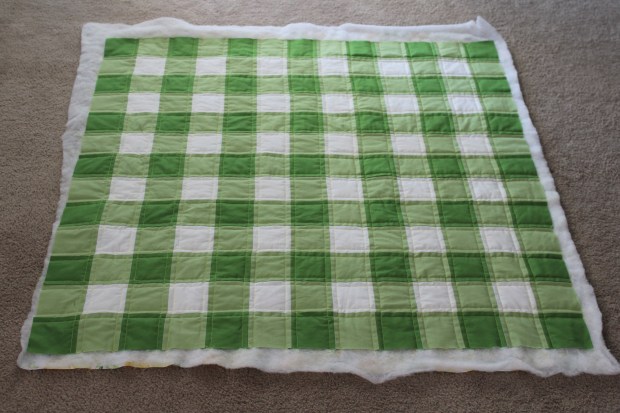
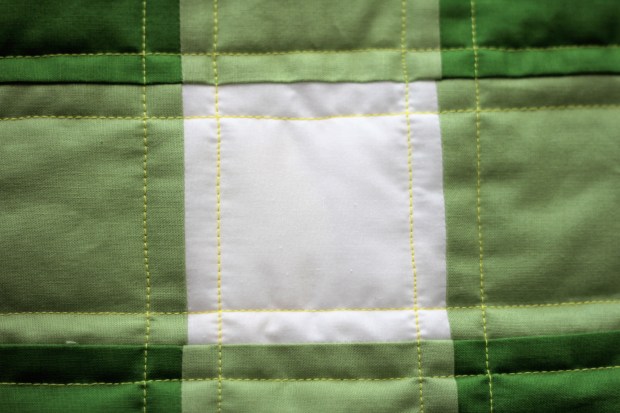
Okay…. so do you have your walking foot installed??? Now you gotta pick your thread color! This is super fun, but also a pretty big decision. Just like every other decision so far in this process, you can do WHATEVER you want. I love the look of crisp white threads, but I also love me some contrasting thread like I did on this gingham quilt.
You can also get real crazy and have two thread colors, one to match the front and one in your bobbin to match the back! Whatever you pick, I recommend filling 2-3 bobbins so you can move and grove once you get going.
Now you are ready to set up your machine and quilt. My recommendations are to have your machine set up to the right of your work space so that there is room for the quilt to sit out to the left.
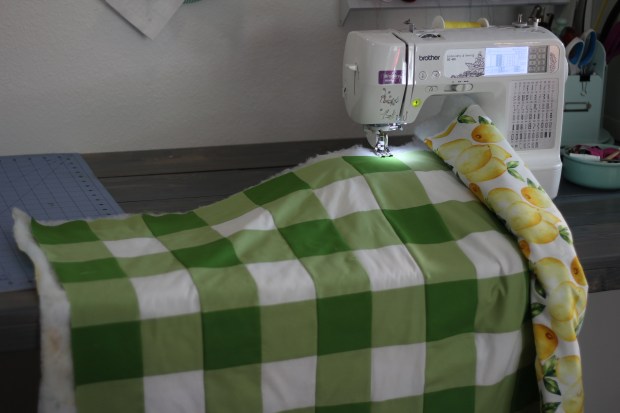
I also recommend starting in the middle of the quilt so you get the hardest part over with first. You can roll the fabric up so that the half that must fit through the throat of your machine is a small as possible. I have quilted up to an oversized twin quilt on my tiny domestic machine by using this roll method… and a lot of sweating.
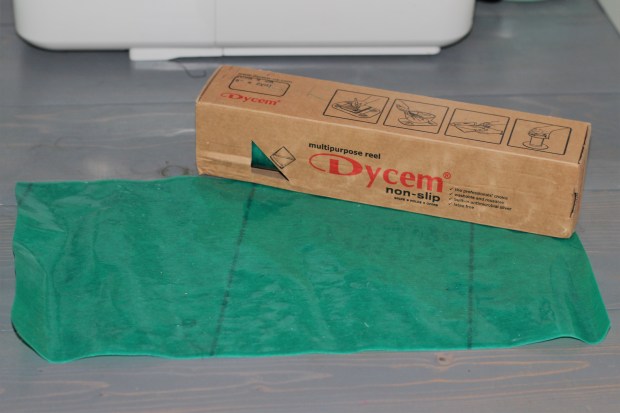
Two things that may help you in your quilting are Dycem non-slip and Machingers quilting gloves. Dycem is a non-slip thin flexible sheet of rubbery plastic that I was first introduced to in my day job. We would use it to help patient’s wheelchair cushions from slipping from between the wheelchair and their booty. I use it in my quilting between my machine and my table to stop my machine from slipping around. This has come in especially handy when quilting larger things or while making weighted blankets. I cut a piece to just fit under my machine. As it gets linty from all your quilting, you can simply run it under water and it is as good a new.

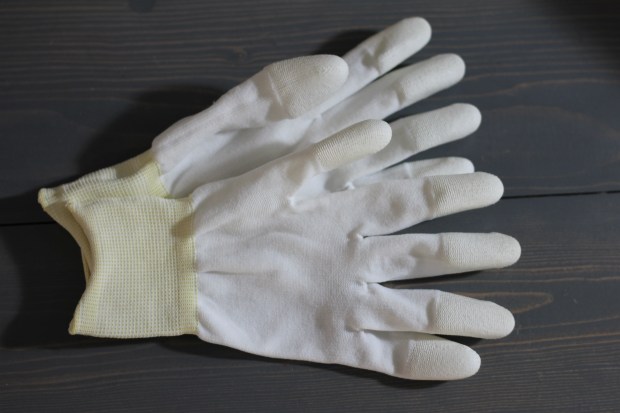
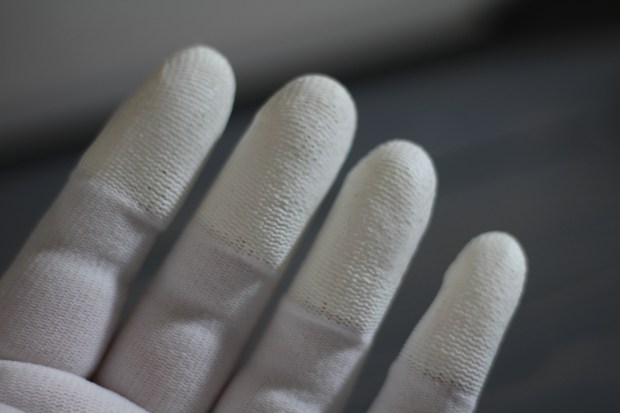
The next thing is Machingers quilting gloves. They are super stretchy and comfy to wear and have grippy little pads on the last inch or so of each finger. This helps SO much to ease that quilt through the machine. I honestly quilted for several years before I bought them, but now that I have them, I NEVER quilt without them! They just make it feel so much easier on my arms and shoulders.
Now it is finally time to start quilting. Start slow, give yourself at least 1/2″ or so on either side of your quilt top so you don’t get too many quilting threads everywhere, and quilt away. This is the most relaxing part of the whole process to me and the perfect time to mentally escape.
One of my favorite quilting techniques is the use the edge of the walking foot at a guide and quilt about 3/8″ away from either side of my seam. Just make sure your needle is set to the center position for this to come out right.
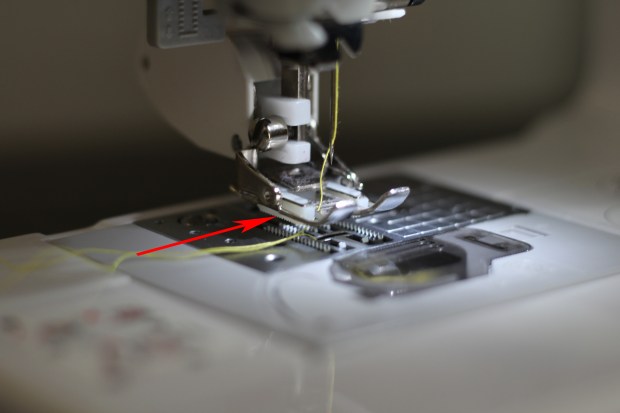
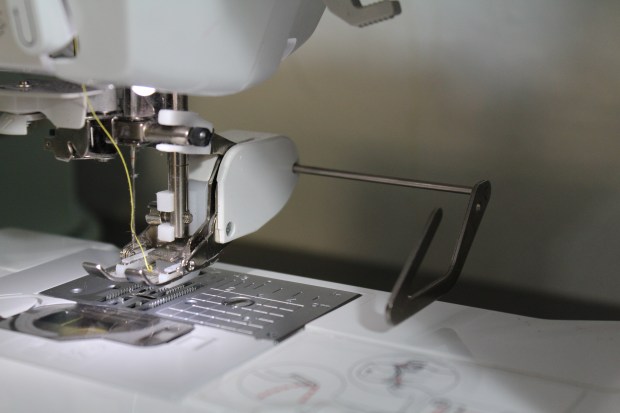
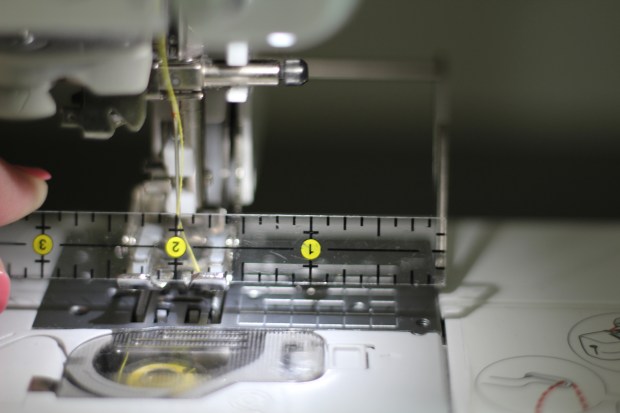
Another tool to know about is the guide that comes with your walking foot. You can set this up to help you along so that you can stitch in evenly spaced lines. The guide is just a metal thing that fits into a hole on the side of your walking foot.
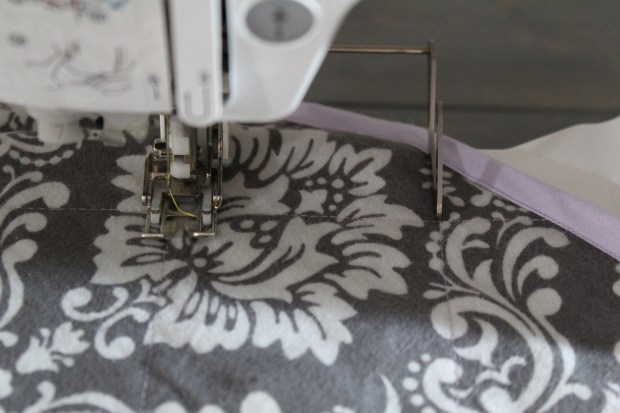
If you look at the picture above, you can line the guide up with a previously quilted line and then your needle will work perpendicular to that line. I use a little ruler to measure from my needle to my guide when setting this up, and check it through out my quilting to make sure I haven’t bumped it out of place.
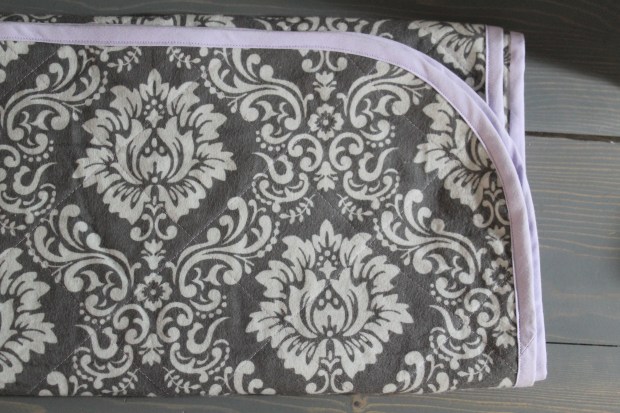
I used my guide at it’s widest setting, a little over 3″, to quilt the diamond quilting lines on this snuggle blanket. The blanket is perfectly square so I folded the blanket diagonally and pressed it to get my first line at a 45 degree angle. After I sewed the first diagonal line, I used my quilting guide and walking foot to keep the lines pretty evenly spaced.
After you quilt the whole thing… take if off the machine, give yourself a pat on the back, and enjoy the beautiful texture of your work! You are nearly done with your quilt!!!