


I love using a cutting mat and rotary cutter to cut fabric for all my quilting projects. There is an up-front investment, but it is well worth it in the time you will save and the accuracy of your cutting. No matter how careful you are with scissors, it is very hard and time consuming to cut perfect squares and perfect squares are the foundation of a perfect quilt! To get started you will need three things:
1. Cutting mat
There are lots of different sizes and styles of cutting mats! Eventually you will want several different ones, but I feel like the best size mat to start with is an 18”x24” mat. This will be large enough to cut strips easily from a yard of fabric when it is folded in half. I also prefer the self healing variety because they do last longer. If you get one that is double sided, with grid marks on both sides, that is even better. Mats currently start at about $15 on amazon.

2. Rotary cutter
Rotary cutters come in several blade sizes and several different handle types. I recommend the 45mm sized blade to start with. This size is the most versatile and easy to find. The handle style is just a matter of preference. Rotary cutters start at about $10 on amazon.

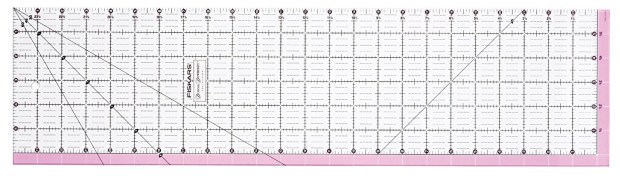
3. Acrylic ruler
The last thing you will need is a clear, acrylic ruler. This will help you get a perfect line while keeping your fingers safe. A 12” ruler or yard stick will not work well and will lead to injury! Rotary cutters are SHARP! I recommend the 6.5”x24.5” size ruler to start with. This will allow you to use the full length of your cutting mat easily. Rulers this size start at about $11 on amazon.
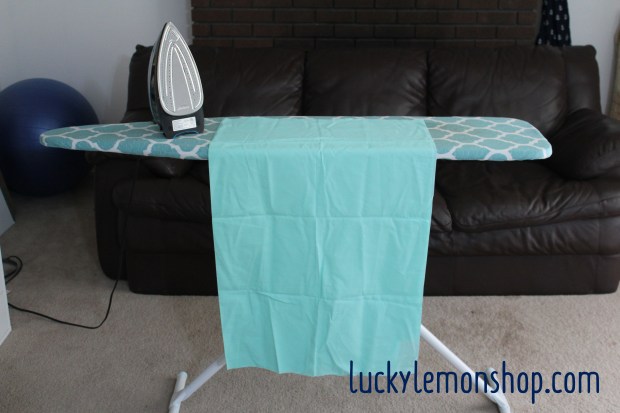
Now that you have your three tools…. grab your fabric! If it is wrinkled, I recommend ironing it and keeping it folded in half, salvage edges together, like it is right off the bolt. Wrinkles like this will effect the accuracy of your cutting. Please enjoy this lovely view of my family room complete with fireplace and exercise ball!
After your fabric is ironed, place your mat on a flat surface and line the fold of fabric up with a horizontal line along the bottom of your cutting mat. Look at the arrows below. The fold is lined up along the 1″ line.

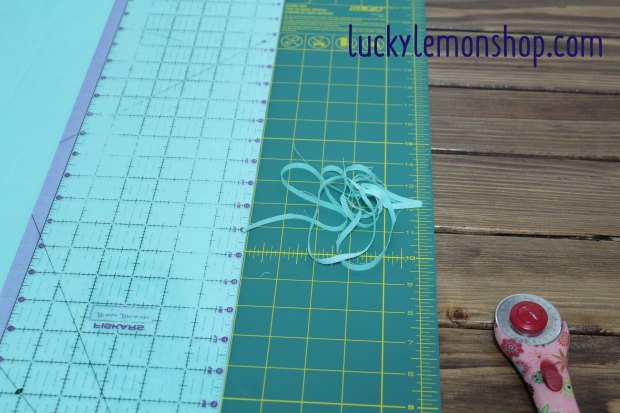
First things first, you have to square up the right edge of the fabric to give yourself a clean line. Pick a grid line closest to the edge and make sure all the jagged edges of your fabric are to the right of it. I picked the 31″ mark. (I am using a 24″x36″ mat in this tutorial.) Line up your ruler with the grid line you have chosen both below and above the fabric. If you are left handed, I would flip this so you are holding your rotary cutter in your left hand and you will be cleaning up the left edge of your fabric.
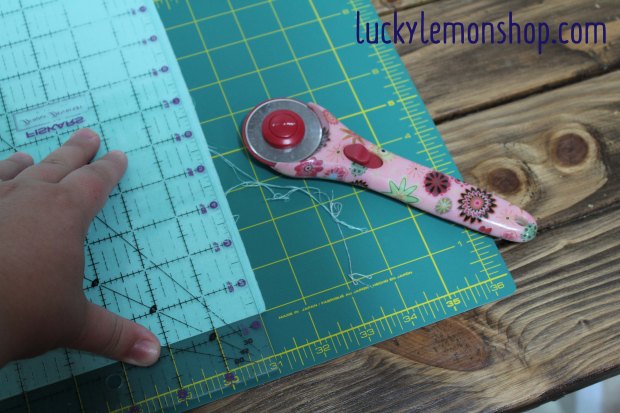
You can see in this picture that my ruler is perfectly in line with the 31″ mark and there is a small rough edge of fabric to the right of the ruler.
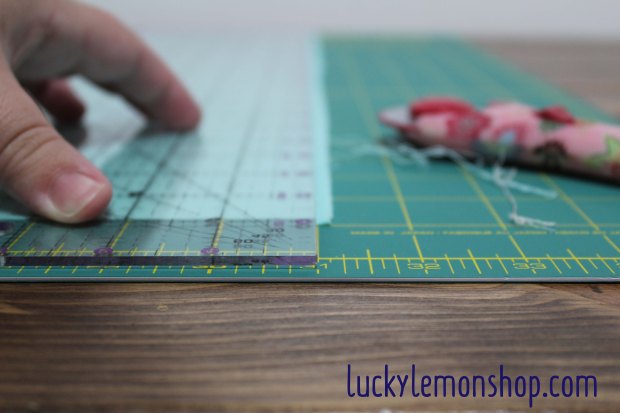
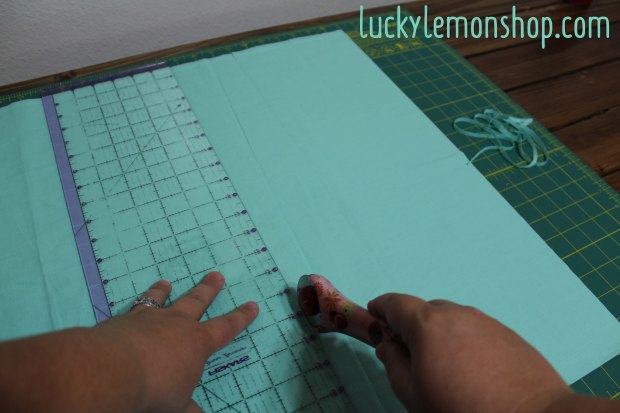
Holding your ruler down with your left hand, hold the rotary cutter in your right hand and cut down the length of the fabric, keeping the blade against the ruler and the ruler steady. This takes a little practice. I find being in a standing position so I am pushing vertically down on the ruler helps me a lot. This first cut will give you a clean edge to start with.
Next you are going to cut strips. The width of the strip will be indicated in your pattern. For the majority of my quilt patterns, I will tell you how many strips to cut. Each strip will be a certain number of inches wide x the WOF or width of fabric. Most quilting fabrics are between 42″ and 44″ wide. If you are cutting 3.5″ strips as I am in this tutorial, go down 3.5 inches, line your ruler up with the grid line both above and below your fabric, and make another cut. Again, make sure you are holding the ruler firmly in place and keeping the blade of the rotary cutter right against the right edge of the ruler.
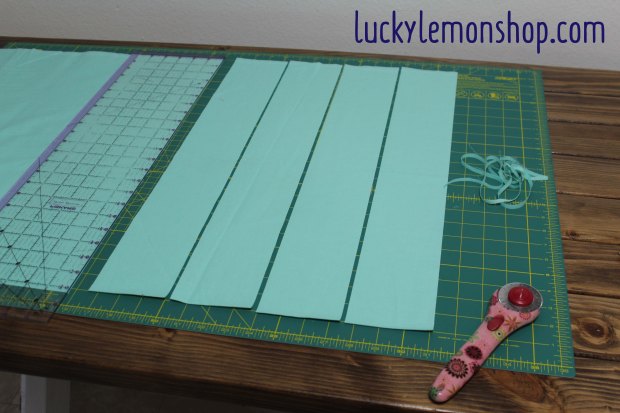
Keep working down the length of your mat until you have enough strips for your project. When you are ready to re-position your fabric, line up the fold on the bottom of the mat and your straight edge on the right side of your mat. If your right sided edge is a little wonky, clean that up before you continue.
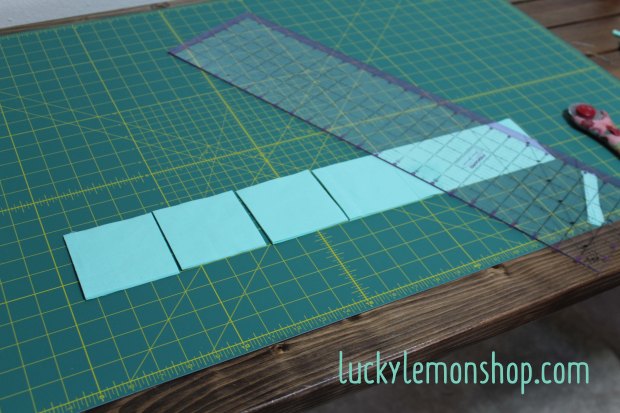
To cut these strips into the size of squares or rectangle you will need for your quilt… you will nee to “sub cut” them. You can either move your body, or move the fabric! I usually move my fabric and line up the long edge of my strips along one of the horizontal lines of my mat. You can stack strips on top of each other or above each other if you are courageous, but I recommend starting with one strip at a time.
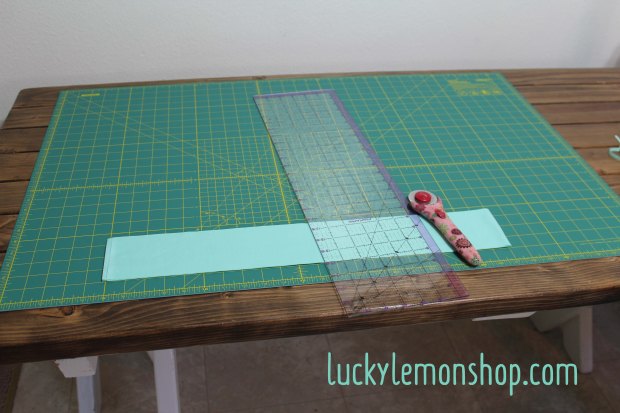
Here we are making 3.5″ squares, so cut a small strip off to ensure your right edge is squared up with your bottom edge, and start cutting 3.5″ down just like you did before.
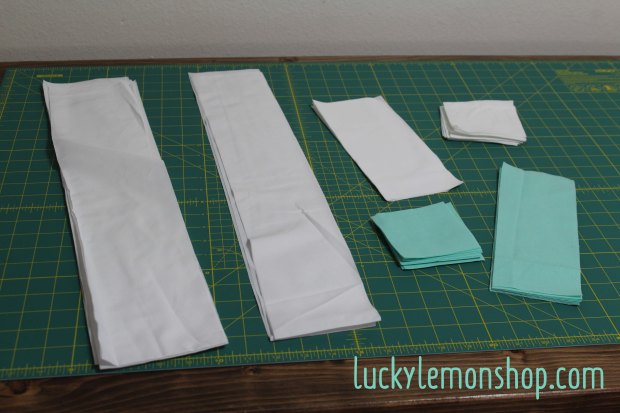
Before long you will end up with lots of stacks of adorable squares all ready for piecing your quilt top!
If you are ready to put your quilt top together, check out my tutorial on nesting your seams for perfect points!
