

If you are keeping up with quilting basics, you are already a master of planning your quilt, cutting your fabric, and piecing it together to make you quilt top. Now you are ready to go from a pieced-together-fabric -creation to a QUILT. The essence of a quilt, as opposed to just a throw or a blanket, is that you have multiple layers that are sewn together to create a more dense, warm, and snuggly object. These layers typically consist of a back, batting to add warmth and weight, and the quilt top.
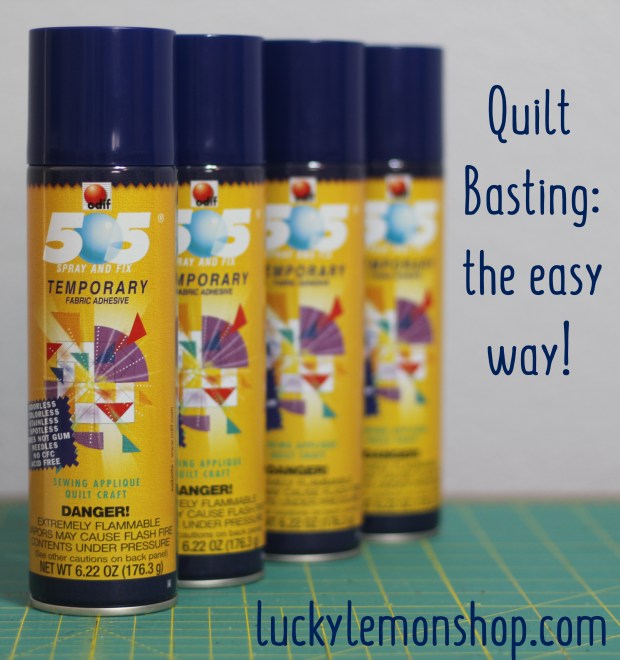
In order for you to sew these layers together you have to BASTE them. Basting is a term to describe attaching fabric together to hold it in place while you do your real stitching or QUILTING. You can baste seams to stop them from stretching or shifting when making clothing. For quilting it is the same idea. We baste our backing fabric, batting, and quilt top together to make sure they don’t shift around too much during the quilting. There are several methods for basting. Old school is to hand sew huge stitches through out the quilt to hold it. This seems more common if you are going to quilt it by hand. Middle school is using safety pins. I use this method when making weighted blankets. The new school and cool kid way to do it is with temporary adhesive spray, or spray basting. I use Odif brand 505 spray. It can be found here from Joann’s or here from amazon. I usually buy the 6.22oz cans from Joann’s when they go on sale and I can baste about two baby size (42″x42″) quilts with one can. One time I tried to make my own spray and it was a disaster. Messed up fabric and messed up iron. Since then I just bite the bullet and buy the good stuff!
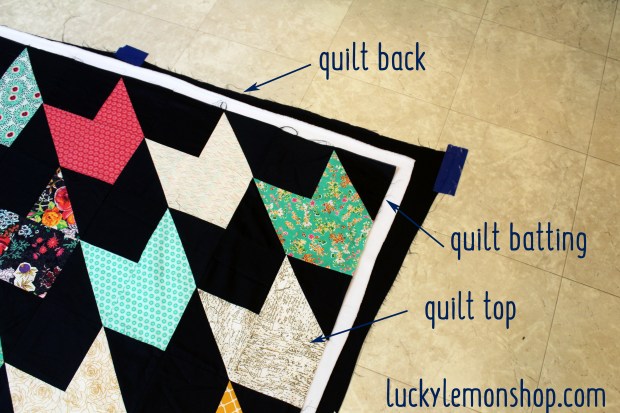
To start you will need to get together your three layers: quilt backing, quilt batting, and quilt top. Grab your can of spray, some wide tape and a semi clean floor or large table.
QUILT BACKING
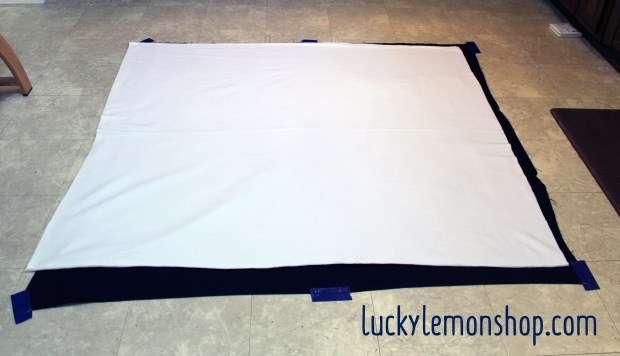
Your quilt backing can be any fabric large enough to cover your quilt top with at least 1-2 inches overhang to give you some wiggle room if fabrics shifts during quilting. If you are making a large quilt, you can find extra wide fabrics that are usually around 100″ wide. I have also used normal quilting fabric for a lot of quilt backs and just sewn together two large pieces. Whatever you decide to use, make sure you iron it well. On a personal aside, if you decide to use a printed extra wide fabric from Joann’s and you get it because it is a great deal… PLEASE PRE-WASH IT! I learned that lesson the very hard way and have since stuck to better quality fabrics. For the quilt in this tutorial I actually use a sheet that had a hole in it and patched it with a pink heart! Waste not, want not RIGHT?

QUILT BATTING
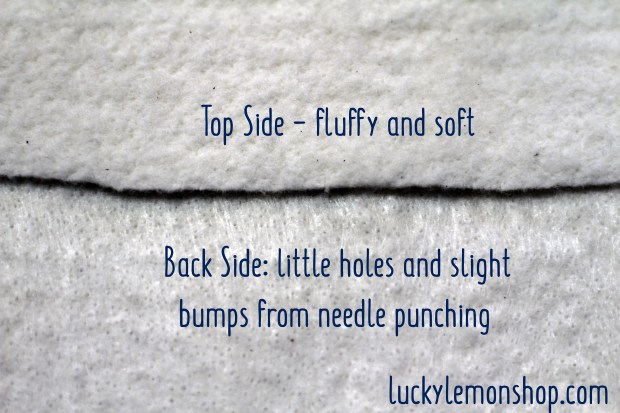
Picking your batting could be a post all of it’s own but honestly, I don’t know if I could do it justice. I like to keep my quilts 100% cotton so I love using Warm and Natural brand. You can buy it by the yard or pre-packaged in sizes like crib, full, and queen. One thing to note is each batting will tell you on the package how far apart you can quilt it. You need this info to plan you quilting. If you quilt your lines further apart than recommended, you batting may fall apart after repeated washings. Another thing to look for is batting WITH SCRIM. Scrim is a polyester webbing that is attached to the batting. As they are making the bating thousands of needles “punch” the cotton fibers together and through the scrim to make the batting more stable. Scrim will mean that your quilt is more like 97% cotton, but it will make your batting more stable for repeated washes. When you are sandwiching your quilt, note that the side of the batting with the raised bumps from all that needle punching is the BACK side.
QUILT TOP
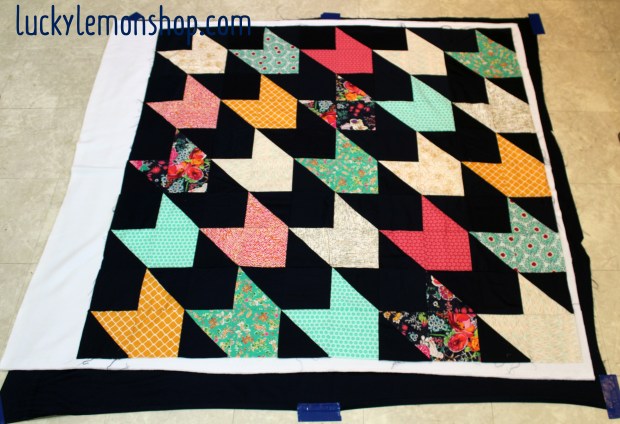
To get your quilt top ready, make sure that it is ironed well. Don’t rub your iron around, but lift it up when changing positions and press the iron down. This will decrease the amount of pull on any diagonal seams you may have. The more carefully you press and flatten your seams, the smoother the finished quilt will be.
SPRAY BASTING
Lay all your pieces out on a smooth surface. A big table would be perfect, but I don’t have a large table so I always use the floor. Smooth out your quilt backing, wrong side facing up, and use some tape to adhere the quilt back to the floor. I try to make the quilt backing taught, but not pulled to the point of distorting the fabric. I also use tape at each corner and one piece in the middle, just enough to hold it down.

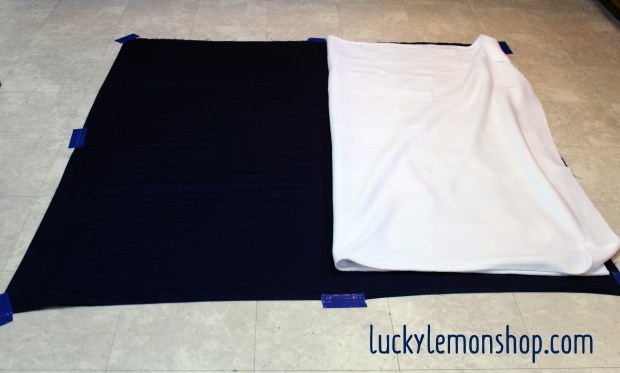
Place the batting down, needle punched side or WRONG side facing down. I like to have my batting about an inch smaller than my backing so I can see everything that is going on in each of my layers.
Place the quilt top, RIGHT SIDE UP in the center. I also like to have an inch or two of overhang so that I can see all my three of my layers. Smooth out the quilt top, just how your want it to end up.
You first are going to adhere the batting to the quilt back. I like to do this 1/4 of the quilt at a time, starting from the center and working my way out. SO… pull 1/2 of the batting and quilt top back on top of the other side.
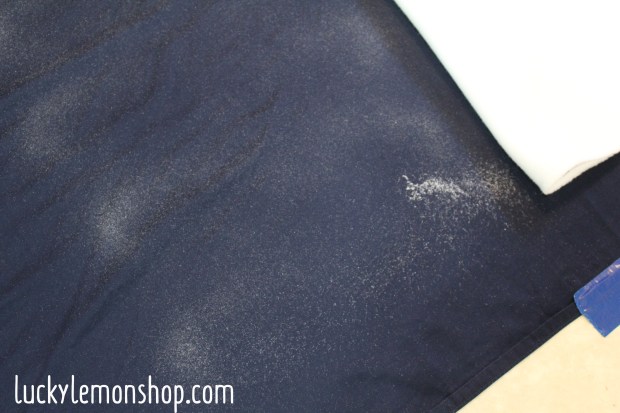
Spray your 505 in sweeping back and forth motions, holding the can about 12″ away from the fabric.
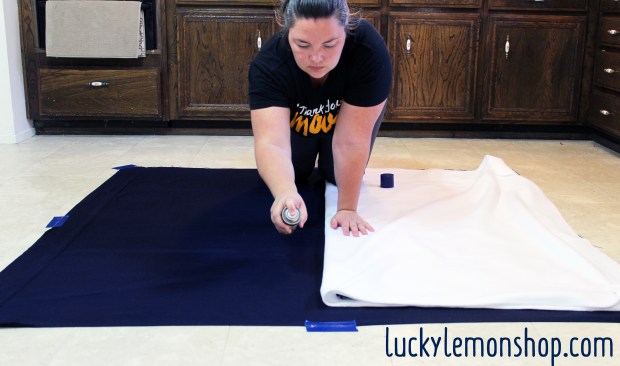
Your spray should look like a white dusting, which is pretty visible on this navy blue fabric.
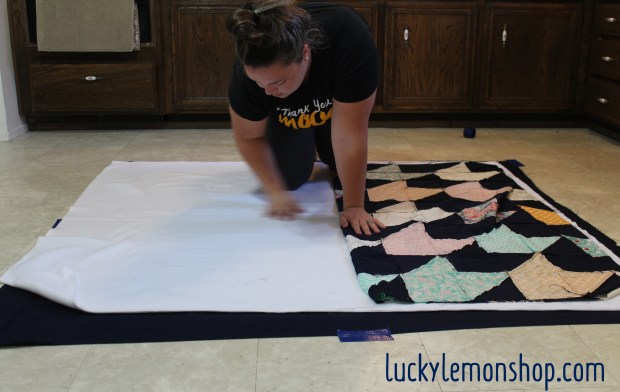
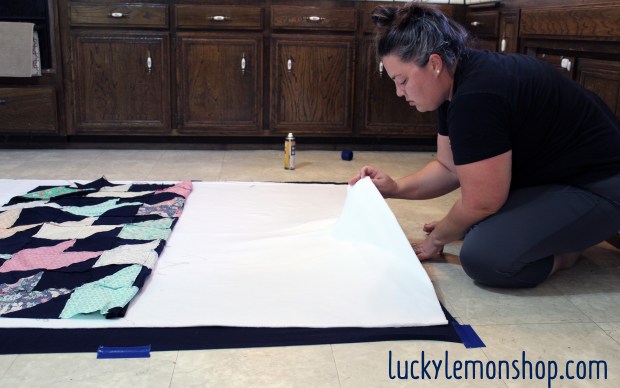
Get up, go to the side of your quilt, lift the batting layer only with both hands and lay it gently over the sprayed area, holding it taught enough to avoid wrinkles, but not stretching the fabric.

Start at the center and using your hand, smooth the batting down to adhere it to the back and to the glue.
Repeat this for the next quarter of the quilt. You will know how far to pull back the batting because as you fold it back, you will feel where the glue stops adhering.

As you get to the edges, I feel like this is where I have the most chance of a wrinkle, but this is where the 505 spray works it’s wonders because it stays sticky even after multiple attempts. You can pull the piece of fabric or batting back up and re–stick it several times before you have to re-spray.

Repeat these steps for the second half of the batting and then the quilt top.
The quilt top is a little more touchy to me because you usually have many seams that can stick different ways. This is where your ironing really helps. Go slow, ask for help from a friend or partner and smooth from the center out.
So…. After starting this page I realized that if a picture is worth 1000 words then a video is worth a billion. So for your viewing pleasure… here is a little video I made to illustrate how I spray baste my quilts. Please excuse the many flaws, it is my first attempt at doing any sort of filming.
